How to setup your Email Client
Select your email Client
General Settings
| Incoming Server Type: | Server Name: | Port: |
| IMAP | imap.epbfi.com | 143 |
| POP3 with SSL | pop.epbfi.com | 995 |
| IMAP with SSL | imap.epbfi.com | 993 |
| Outgoing Server Type: | Server Name: | Port: |
| SMTP with SSL | smtp.epbfi.com | 465 |
Outgoing servers require SMTP authentication. Microsoft Outlook users will need to manually enable this feature.
Note: When entering your User Name, please enter your entire email address (e.g., myname@epbfi.com).
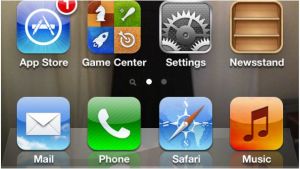
iPhone, iPad, iPad2, iPod Touch
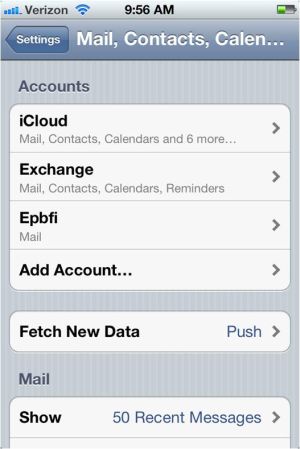
Open the "Settings" Option
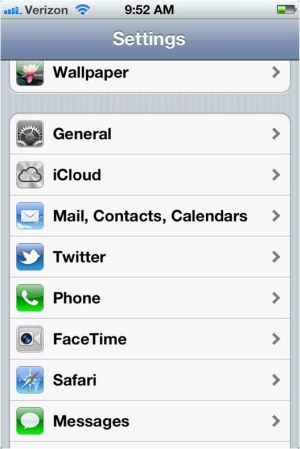
Select "Mail, Contacts, Calendars"
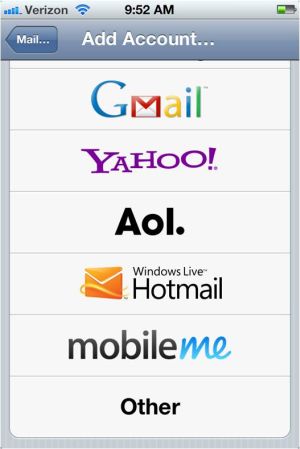
Select "Add Accounts..."

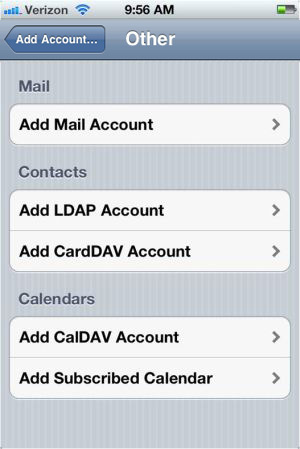
Select "Other"
Select "Add Mail Accounts"
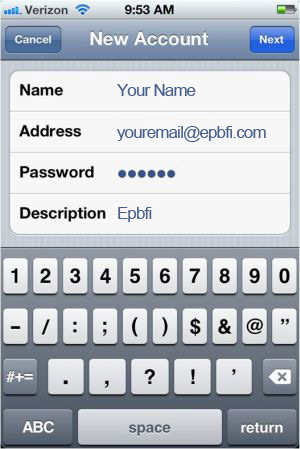
Enter in name, email address and Password in these fields
Enter in Host Name, Full Email Address, and Password
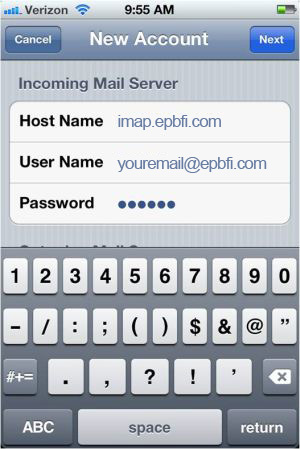
Enter in Host Name, Full Email Address, and Password

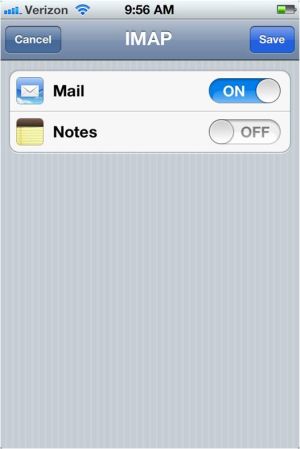
Click "Save" to finalize account setup.
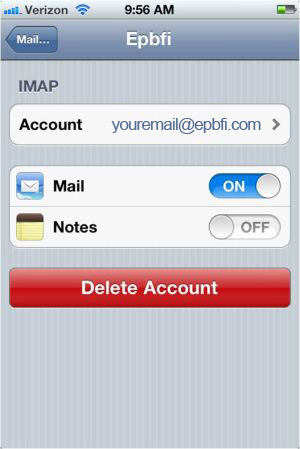
Select the Epbfi account
This screen lets you know you are finished.
This screen also gives you the option to delete the account should you need to remove it for some reason.
Apple Mail / Mac Mail
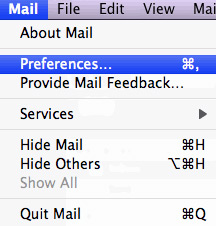
From the Mail menu, select Preferences.
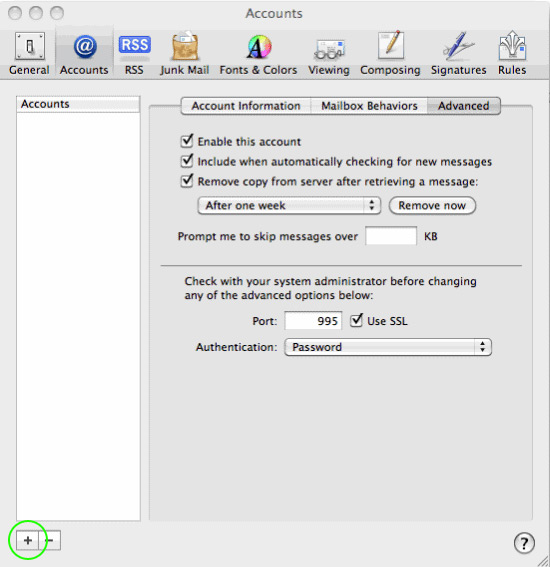
Go to the Accounts tab, and then click the plus sign at the bottom of Accounts.
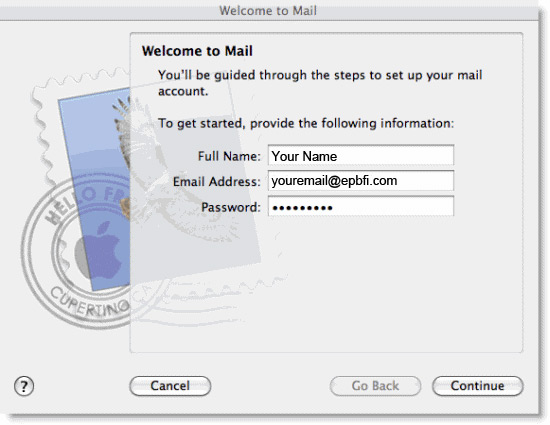
Enter in your Name, Email Address, Password and then click on Continue
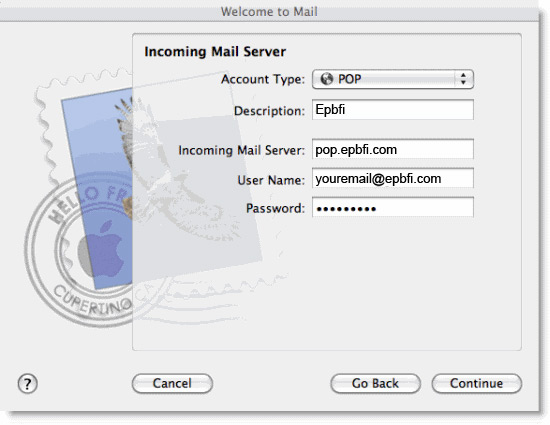
Enter Description, pop.epbfi.com for the Incoming Mail Server, your full email address for User Name and your password
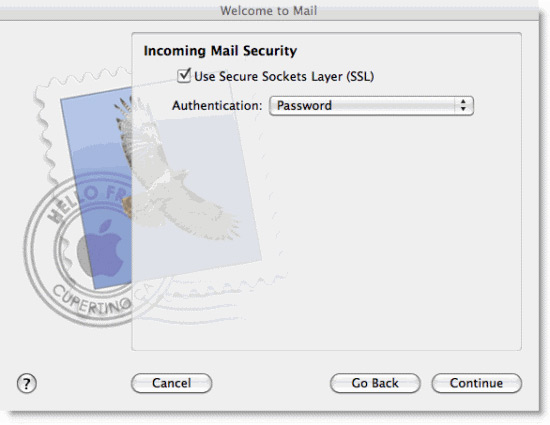
Check Use Secure Sockets Layer
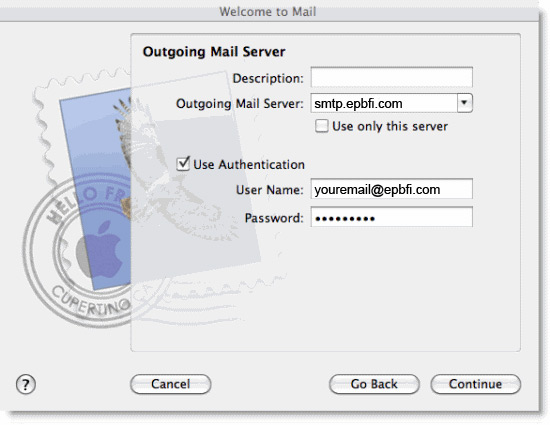
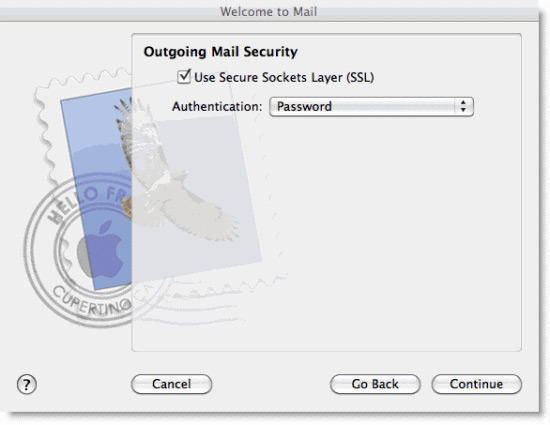
Enter Description, smtp.epbfi.com for the Outgoing Mail Server. Check Use Authentication and then enter your full email address for User Name and your password
Check Use Secure Sockets Layer
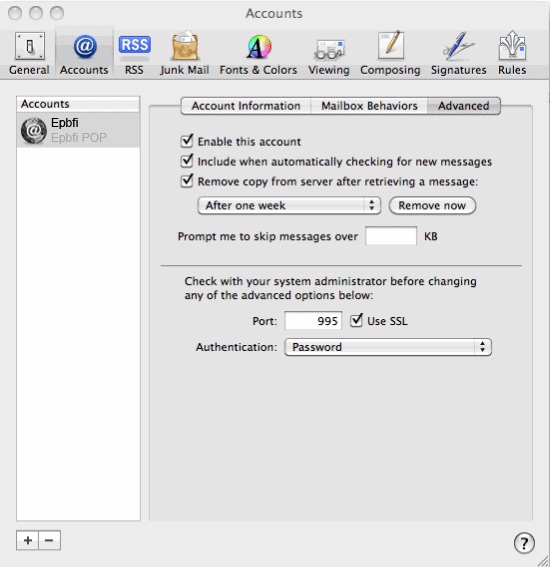
After the account is created you will need to select the Account, then select the Advanced tab. The outgoing server port needs to be set to 995 with SSL
Android
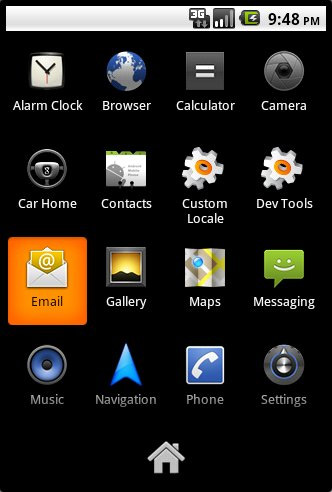
Open applications page, and then tap the Email button
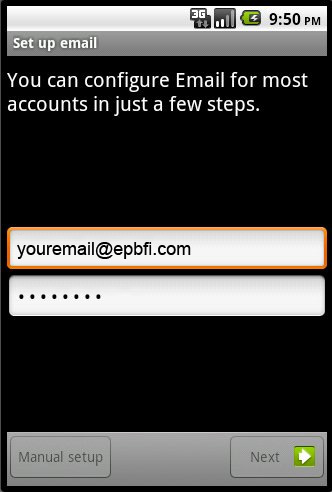
Enter in your Full email address and password, then tap Next
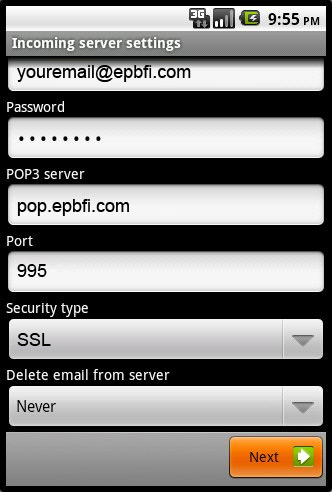
Tap the POP3 icon

Enter in your full email address for the username. Enter your Password. Set the POP3 Server to pop.epbfi.com with port 995. Security type needs to be set to SSL, then tap Next
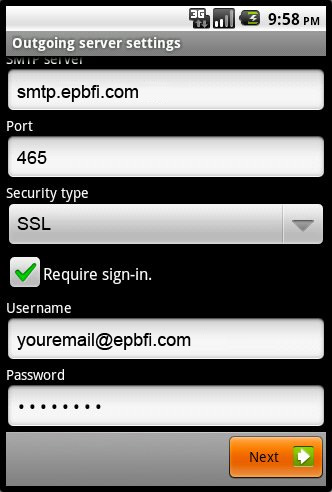
Set SMTP server to smtp.epbfi.com with port 465. Set security type to SLL and check Require sign-in. Enter your full email address for the username and then enter your password
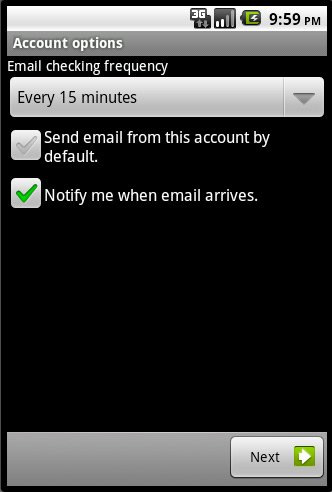
Set your account options
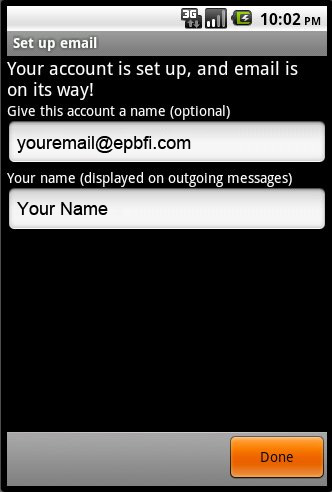
Enter in a name for this account and your name. Select Done to finish the setup
Outlook
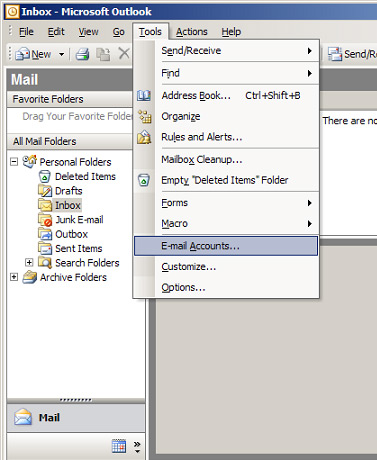
While in Outlook, Click on Tools then E-mail Accounts...
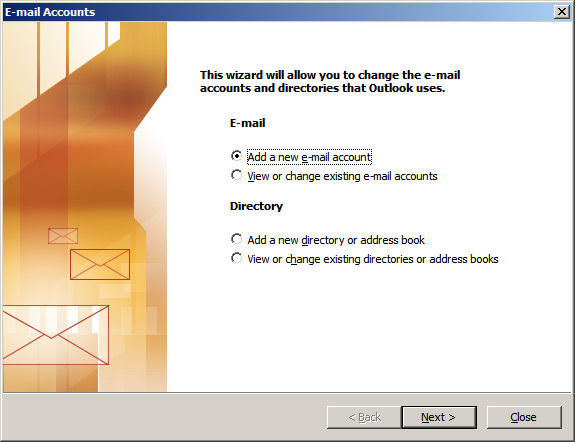
Select Add a new e-mail account and click Next.
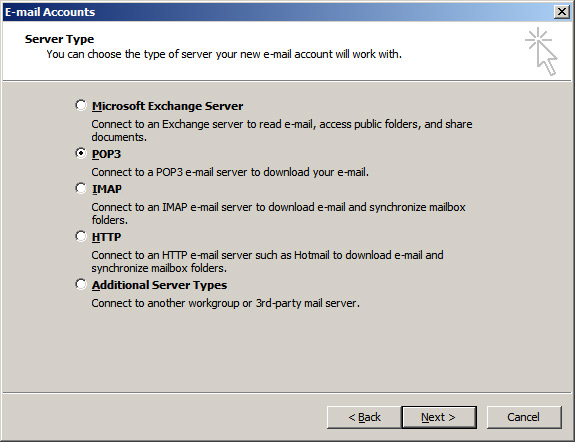
Select POP as your server type and click Next.
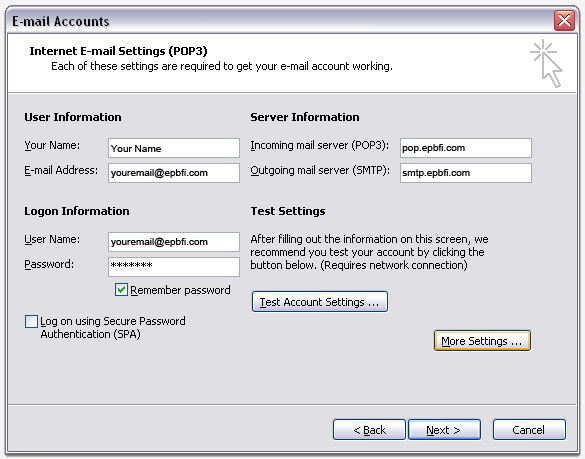
Enter pop.epbfi.com and smtp.epbfi.com for Incoming and Outgoing Mail Server. Enter in your full email address for the User Name. Then Select More Settings.
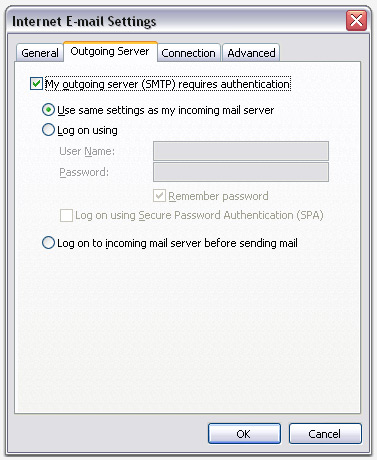
Click on the Outgoing Server tab. Check the box that says My outgoing server (SMTP) requires authentication.
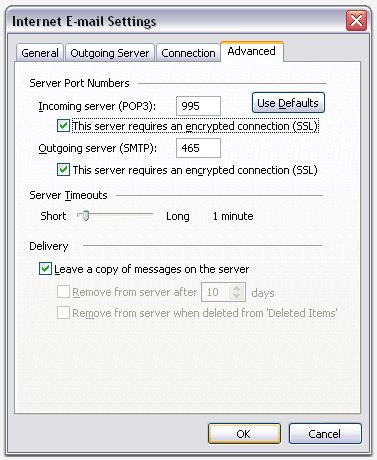
Click on the Adavanced tab. Select This server requires a secure connection (SSL) for both incoming and outgoing mail servers. The Incoming server port needs to be 995 and the Outgoing server port needs to be 465. Make sure you check Leave a copy of messages on the server, so that you can check your mail on multiple devices.
Click Next and then select Finish.
Outlook 2010
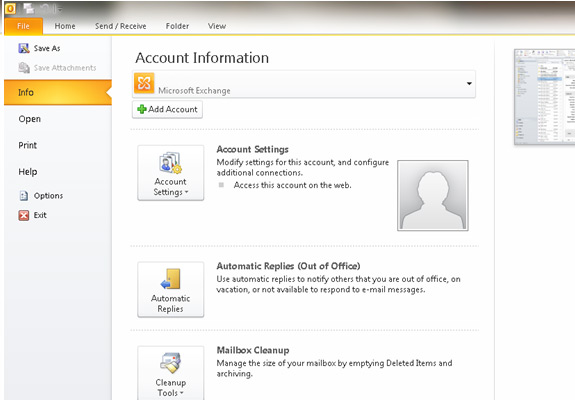
While in Outlook 2010, Click on File, Info, and then Account Settings
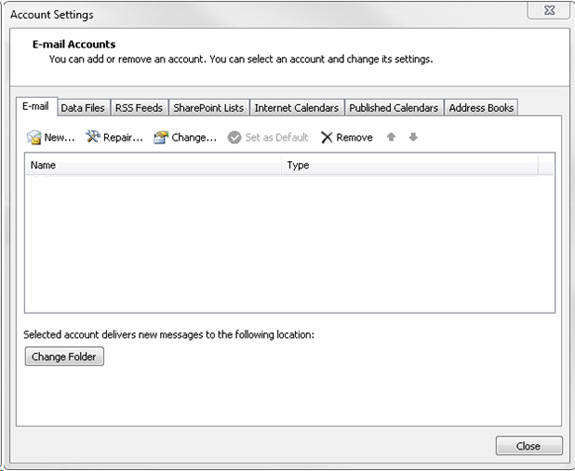
Click on New... under the E-mail Tab.
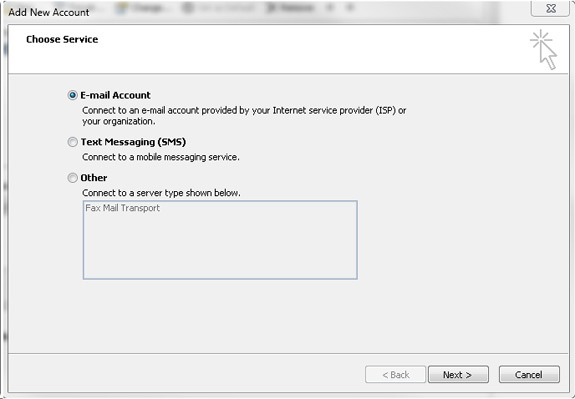
Choose E-mail Account and the click Next.
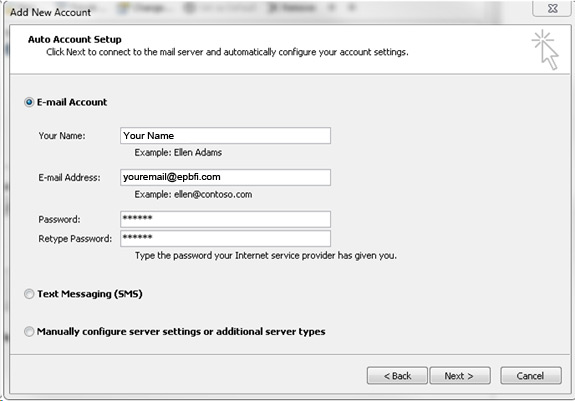
Type in Your Name, Your Email Address, Password and then click Next.
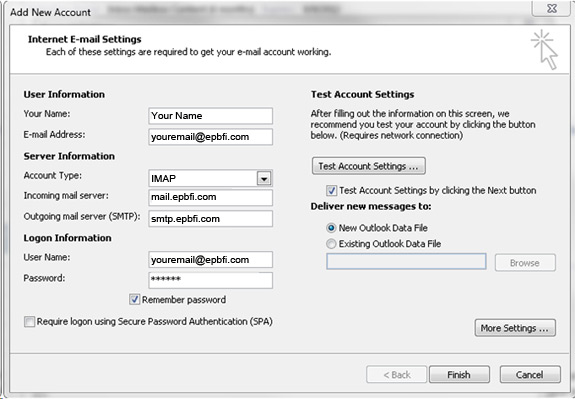
Select IMAP in the mail server drop down. Enter mail.epbfi.com and smtp.epbfi.com for Incoming and Outgoing Mail Server, then click More Settings.
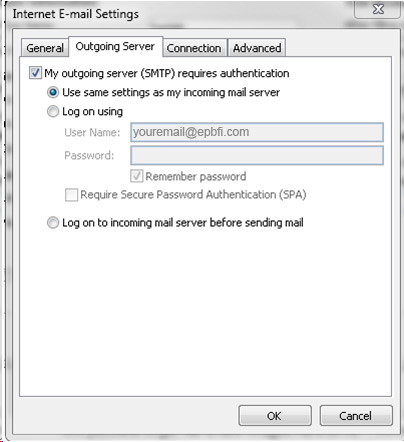
Click on the Outgoing Server tab. Check the box that says My outgoing server (SMTP) requires authentication.
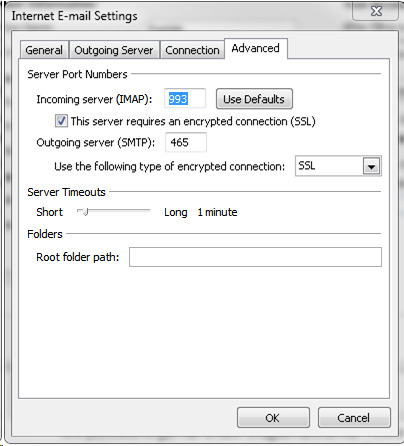
Click on the Adavanced tab. Select This server requires a secure connection (SSL) for both incoming and outgoing mail servers. The Incoming server port needs to be 993 and the Outgoing server port needs to be 465.
Then Click OK and then select Finish.
Outlook Express
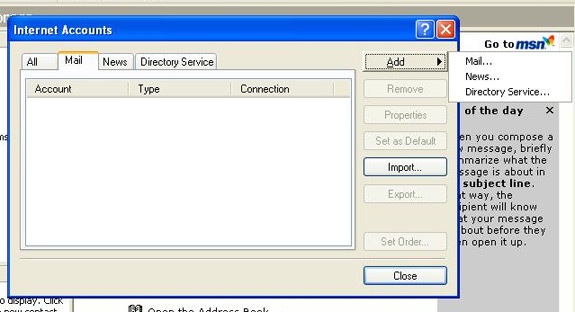
While in Outlook Express, Click on Tools then Accounts...

Select the Mail Tab, Add, and then click Mail..
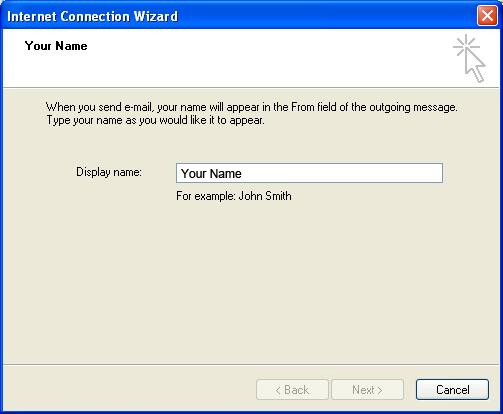
Type in Your Name and then click Next.
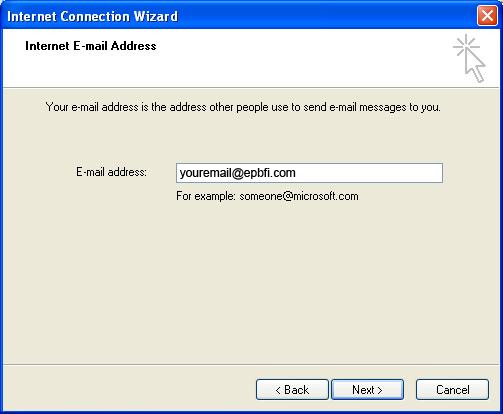
Type in Your Email Address and then click Next.
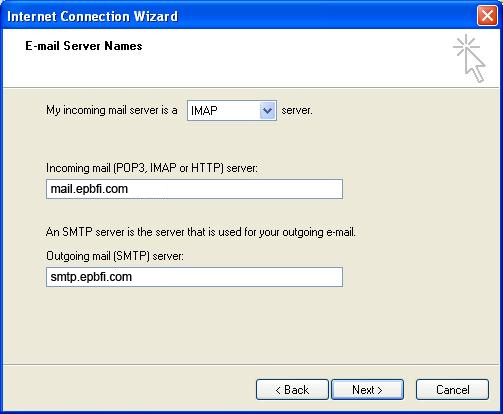
Select IMAP in the mail server drop down. Enter mail.epbfi.com and smtp.epbfi.com for Incoming and Outgoing Mail Server, then click Next.
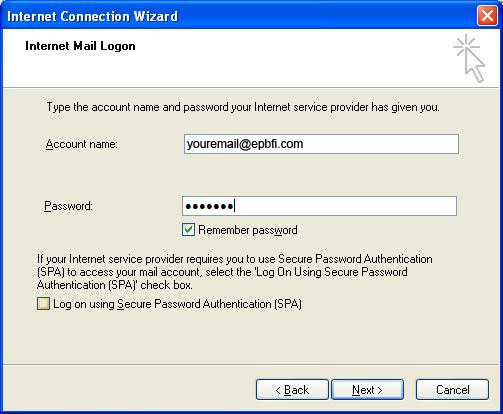
Enter in your Full Email Address for the Account name and then your Password. Check Remember password and then click Next.
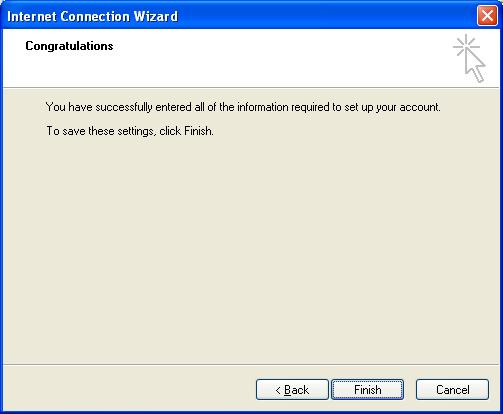
Click Finish
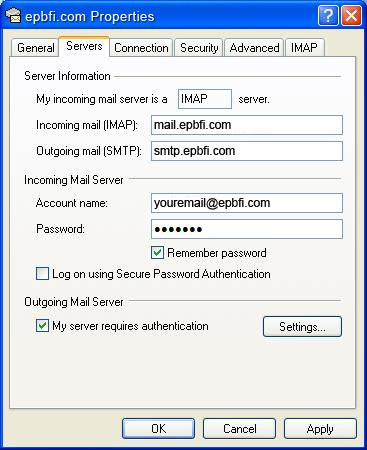
Select the Account that we just created, and then Click on Properties

Select the Servers tab, check My server requires authentication under Outgoing Mail Server.
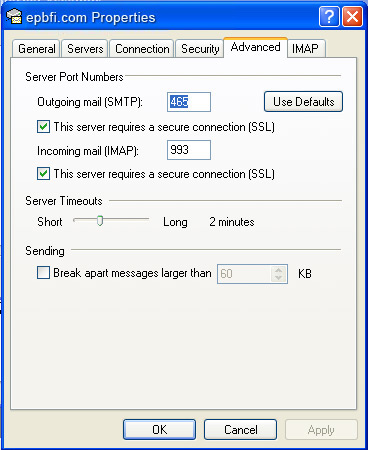
Select the Advanced Tab. Check This server requires a secure connection (SSL) for both incoming and outgoing mail servers. The Incoming server port needs to be 993 and the Outgoing server port needs to be 465. Then Click Ok.
Then Click OK.
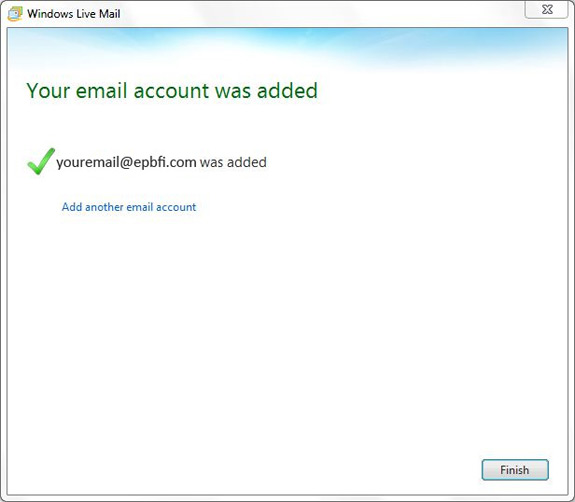
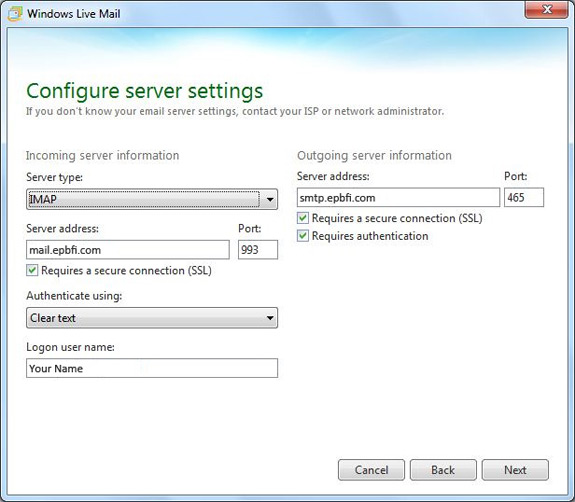
Windows Live Mail
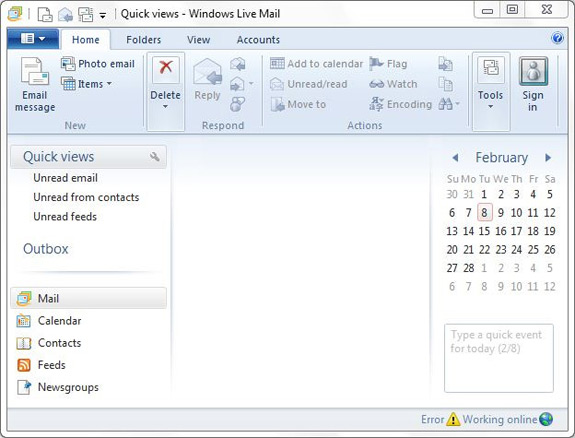
Open Windows Live Mail.
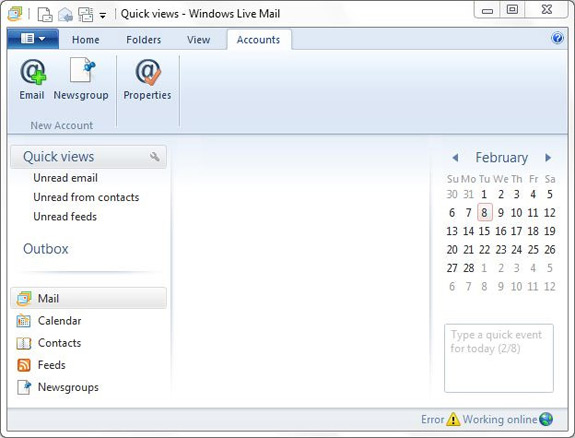
Click on the Accounts tab and then Click on the Email button with the plus sign on it.
Type in your Email address, Password, Name and then click Next.
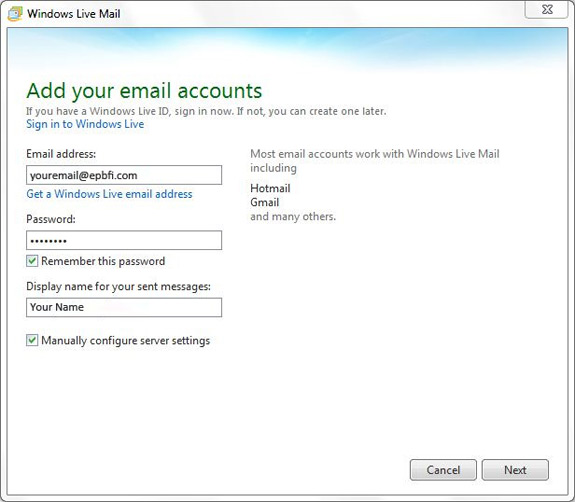
Select IMAP in the mail server drop down. Enter mail.epbfi.com, smtp.epbfi.com, and check SLL for both Incoming and Outgoing Mail Server. Enter in your Full email address for the user name, check Requires authentication, and click Next.
Click Finish.